반응형
스파르타 코딩클럽 내일배움캠프 AI 웹개발자양성과정 3회차
2022.10.13. 30일차 - TIL
1. 머신러닝 특강
- vscode에서 가상환경을 만들고, pip install -qr https://raw.githubusercontent.com/ultralytics/yolov5/master/requirements.txt 명령어 입력
- 실습_1
import torch
import cv2

model = torch.hub.load('ultralytics/yolov5','yolov5s',pretrained=True)
# yolov5는 object detection을 위한 모델로 이미지를 입력받아 사물의 종류와 해당 사물의 위치를 파악하는 모델이다.

imgs = ['https://ultralytics.com/images/zidane.jpg']
# 서버에서 이미지를 가져올 때 array에 담아오기
results = model(imgs)
# 모델에 분석하고자 하는 이미지 넣기
results.save()
# 저장
Fusing layers...
YOLOv5s summary: 213 layers, 7225885
parameters, 0 gradients
Adding AutoShape...
Saved 1 image to runs\detect\exp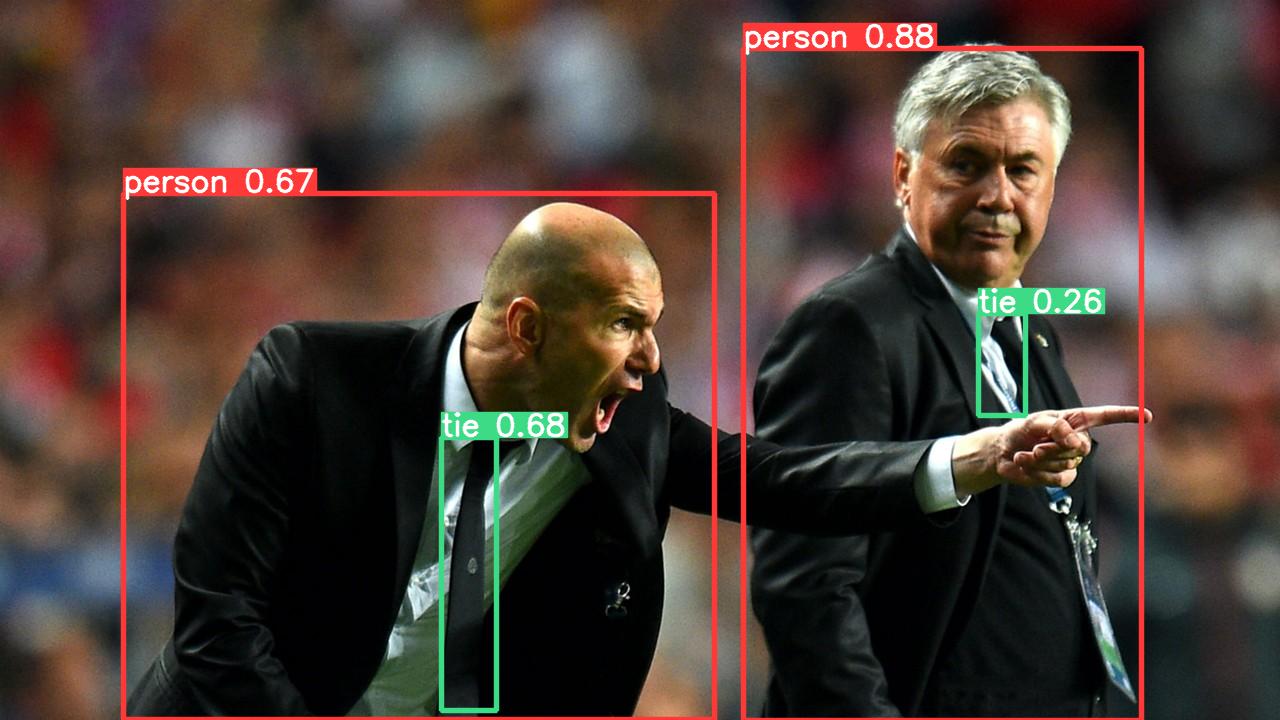
runs/detect 아래 exp 폴더가 생기면서 위와 같은 이미지 파일이 만들어진다.
- 실습_2
import torch
import cv2
model = torch.hub.load('ultralytics/yolov5','yolov5s',pretrained=True)
imgs = ['https://ultralytics.com/images/zidane.jpg']

results = model(imgs)

print(results.xyxy[0], results.xyxy[0][0][0].item())  # img1 predictions (tensor)
print(results.pandas().xyxy[0])  # img1 predictions (pandas)

tmp_img = cv2.imread('zidane.jpg')  # opencv로 이미지파일 열기

cv2.rectangle(tmp_img, (int(results.xyxy[0][0][0].item()), int(results.xyxy[0][0][1].item())), (int(results.xyxy[0][0][2].item()), int(results.xyxy[0][0][3].item())), (255, 255, 255))
# xmin, ymin
# xmax, ymax
# 두개의 좌표로 이미지에 사각형을 그린다.

cv2.imwrite('result.png', tmp_img)
# tmp_img를 result.png 파일로 저장
Fusing layers...
YOLOv5s summary: 213 layers, 7225885 parameters, 0 gradients
Adding AutoShape...
tensor([[7.43290e+02, 4.83437e+01, 1.14176e+03, 7.20000e+02, 8.79861e-01, 0.00000e+00],
[4.41990e+02, 4.37337e+02, 4.96585e+02, 7.10036e+02, 6.75119e-01, 2.70000e+01],
[1.23051e+02, 1.93238e+02, 7.14691e+02, 7.19771e+02, 6.66693e-01, 0.00000e+00],
[9.78990e+02, 3.13579e+02, 1.02530e+03, 4.15526e+02, 2.61517e-01, 2.70000e+01]]) 743.2904052734375
xmin ymin xmax ymax confidence class name
0 743.290405 48.343658 1141.756592 720.000000 0.879861 0 person
1 441.989624 437.336731 496.585083 710.036194 0.675119 27 tie
2 123.051147 193.238098 714.690735 719.771301 0.666693 0 person
3 978.989807 313.579468 1025.302856 415.526184 0.261517 27 tie> results.xyxy[0]
tensor([[7.43290e+02, 4.83437e+01, 1.14176e+03, 7.20000e+02, 8.79861e-01, 0.00000e+00],
[4.41990e+02, 4.37337e+02, 4.96585e+02, 7.10036e+02, 6.75119e-01, 2.70000e+01],
[1.23051e+02, 1.93238e+02, 7.14691e+02, 7.19771e+02, 6.66693e-01, 0.00000e+00],
[9.78990e+02, 3.13579e+02, 1.02530e+03, 4.15526e+02, 2.61517e-01, 2.70000e+01]])
> results.xyxy[0][0]
tensor([7.43290e+02, 4.83437e+01, 1.14176e+03, 7.20000e+02, 8.79861e-01, 0.00000e+00])
> results.xyxy[0][0][0]
tensor(743.29041)
> results.xyxy[0][0][0]의 타입
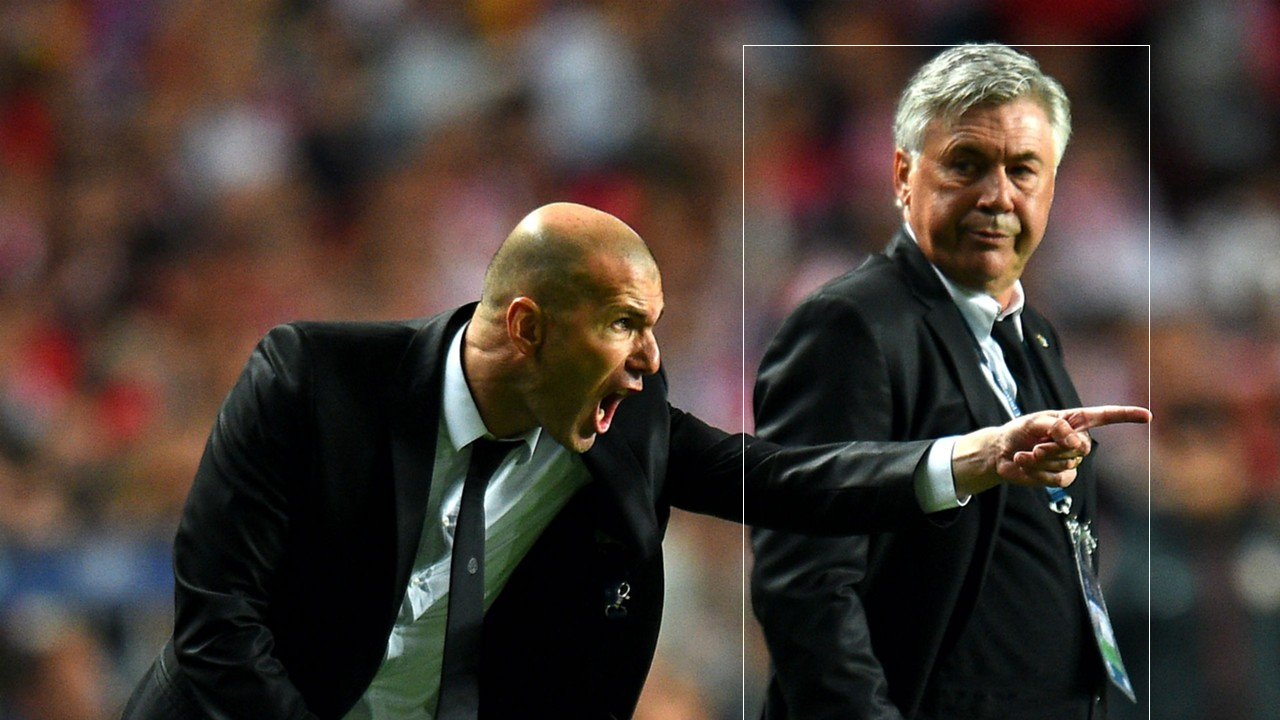
<class 'torch.Tensor'>result.xyxy[0][0][0] 뒤에 item()을 붙여야 숫자로 출력된다. 이때 +02(=10^2)이기 때문에 100이 곱해져서 나온다. 판다스 결과는 column명과 함께 나오며 name column이 추가되어 나온다. 저장된 result.png는 아래와 같다.

- 실습_3
import torch
import cv2
model = torch.hub.load('ultralytics/yolov5','yolov5s',pretrained=True)

img = cv2.imread('zidane.jpg')  # opencv로 이미지파일 열기
results = model(img)
results.save()

result = results.pandas().xyxy[0].to_numpy()  # 넘파이 배열로 바꿔준다.
result = [item for item in result if item[6]=='person']  # name이 person인 것만 추출

tmp_img = cv2.imread('zidane.jpg')  # 새로운 이미지를 opencv로 열기
print(tmp_img.shape)  # 처음 이미지 가로, 세로, 컬러

cropped = tmp_img[int(result[0][1]):int(result[0][3]), int(result[0][0]):int(result[0][2])]  # [ymin:ymax, xmin:xmax] 형태로 전달 -> 해당 영역 자름
print(cropped.shape)  # 자른 이미지 가로, 세로, 컬러

cv2.imwrite('result2.png', cropped)  # 자른 이미지를 result2.png 파일명으로 저장
cv2.rectangle(tmp_img, (int(results.xyxy[0][0][0].item()), int(results.xyxy[0][0][1].item())), (int(results.xyxy[0][0][2].item()), int(results.xyxy[0][0][3].item())), (255, 255, 255))  # 원본 이미지에 하얀색 사각형 그리기
cv2.imwrite('result.png', tmp_img)
Fusing layers...
YOLOv5s summary: 213 layers, 7225885 parameters, 0 gradients
Adding AutoShape...
Saved 1 image to runs\detect\exp2
(720, 1280, 3)
(675, 406, 3)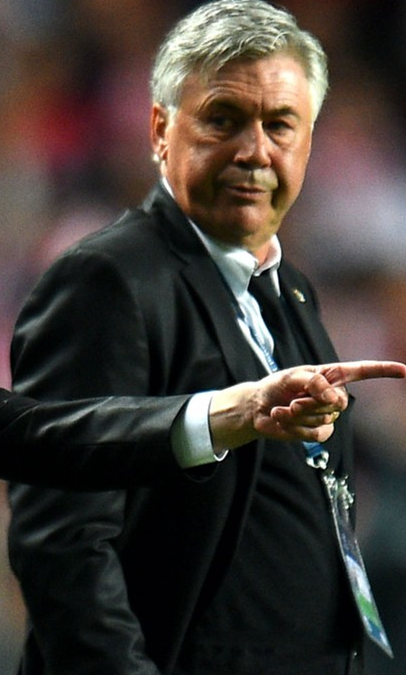
2. 머신러닝 타임어택
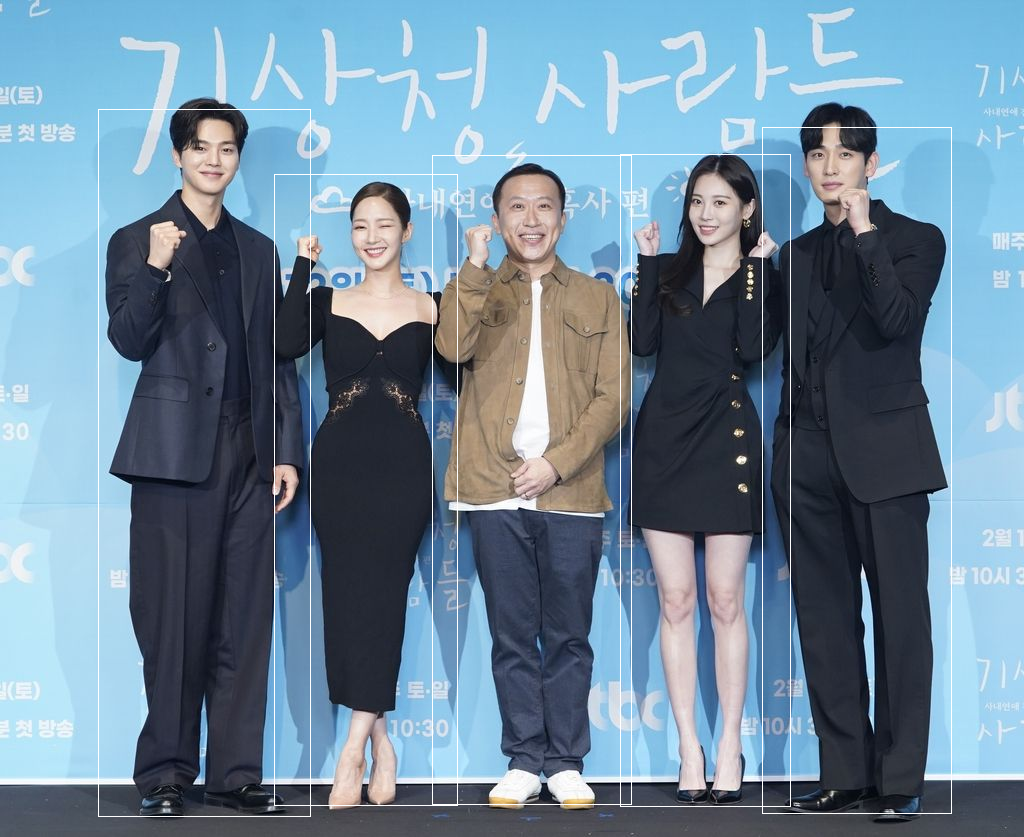
- 위 이미지를 다운받아 저장하세요
- opencv로 이미지를 읽고 이미지의 가로, 세로가 각 몇 pixel인지 구하세요 -> a. (세로, 가로)
- 이미지에서 사람을 찾아 하얀색으로 네모를 그려서 result1.png로 저장하세요
- 이지에서 사람들을 잘라 people1.png, people2.png ... 로 저장하세요
- 코드와 이미지를 git에 업로드하고 해당 repository를 공유하세요
import torch
import cv2

model = torch.hub.load('ultralytics/yolov5', 'yolov5s', pretrained=True)  # 모델 받아오기

img = cv2.imread('photo.jpeg')  # opencv로 파일열기

print(f'a. ({img.shape[0]}, {img.shape[1]})')  # a.(세로, 가로) 출력

results = model(img)
results.save()  #모델을 적용한 사진 저장 -> exp에 생길 것

result = results.pandas().xyxy[0].to_numpy()  # pandas 출력 결과를 넘파이 배열로 바꾼다
result = [item for item in result if item[6]=='person']  # name이 person인 것만 추출

tmp_img = cv2.imread('photo.jpeg')  # 이미지를 자를 원본
print(tmp_img.shape)

for idx, r in enumerate(result):  # person인 요소에 하나씩 접근
    cropped = tmp_img[int(r[1]):int(r[3]), int(r[0]):int(r[2])]
    # [ymin:ymax, xmin:xmax] 형태로 전달 -> 해당 영역 자름

    cv2.imwrite(f'person{idx+1}.png', cropped)
    # 해당 인물 사진만 따로 저장

    cv2.rectangle(tmp_img, (int(r[0]), int(r[1])), (int(r[2]), int(r[3])), (255,255,255))
    # (xmin, ymin), (xmax, ymax) -> 하얀 박스 그리기
    # to_numpy로 이미 숫자형태로 바꾸었기에 item 불필요

cv2.imwrite('result1.png', tmp_img)  # 하얀 네모박스가 그려진 이미지를 result1.png로 저장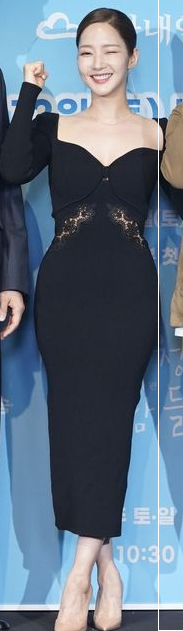
반응형
'개발일지 > AI 캠프' 카테고리의 다른 글
| 내일배움캠프 AI - 7주차 WIL (0) | 2022.10.17 |
|---|---|
| 내일배움캠프 AI - 31일차 TIL, 2022.10.14 (0) | 2022.10.17 |
| 내일배움캠프 AI - 29일차 TIL, 2022.10.12 (0) | 2022.10.13 |
| 내일배움캠프 AI - 28일차 TIL, 2022.10.11 (0) | 2022.10.12 |
| 내일배움캠프 AI - 6주차 WIL (0) | 2022.10.11 |